Tired of carrying a router just to SSH into your device? Me too.
If you work with edge devices like Nvidia Jetson, Raspberry Pi, or the new Nvidia Spark, you know the struggle. You want a fast, reliable connection to your laptop for development and debugging.
Wi-Fi isn’t always convenient. Carrying a dedicated switch or router is bulky.
My suggestion is quite simple: Laptop <-> USB-C Cable <-> USB-C to Ethernet Adapter <-> Ethernet to USB-C Adapter <-> Device.
But then the software nightmare begins. Static IPs, DHCP servers, conflicting subnets, dnsmasq fighting with systemd-resolved… It’s a mess. I solved it once and for all.
Meet UniEDC (Universal Ethernet Direct Connect)
The obvious question: Why use a separate USB-C to Ethernet adapter on the Spark side?
To avoid disrupting the current Ethernet connection and to be able to connect the Spark to a standard network at any time
Use case
This solution was actively used in several JetBrains demos. In particular, you can read my colleague’s blog post at the link:
https://jonnyzzz.com/blog/2025/11/26/junie-cage-spark
What is it?
It’s a “set-and-forget” bash utility that turns your target device (Spark, Pi, Jetson) into a plug-and-play gateway.
Originally, we built this to connect the Nvidia Spark device directly to a developer’s laptop so it could be used with the JetBrains AI assistant and agents on the user’s computer. But this should work on almost any Debian/Ubuntu-based hardware.
You run the installation script once on the device, and it handles all the network stack complexities: hot-plug DHCP, universal adapter support via wildcards, and crucially, Smart DNS Isolation so the device doesn’t lose its own internet access when you connect to it.
Key Features
- Universal Adapter Support: UniEDC uses NetworkManager wildcards (
enx*) to automatically detect and configure any USB-to-Ethernet adapter connected to the device. You can swap adapters without reconfiguring the OS - Hot-Plug Ready: Includes a NetworkManager Dispatcher script. The DHCP server (
dnsmasq) on the unit starts automatically when the Ethernet link is detected and stops when disconnected - Safe Subnet Architecture: Uses
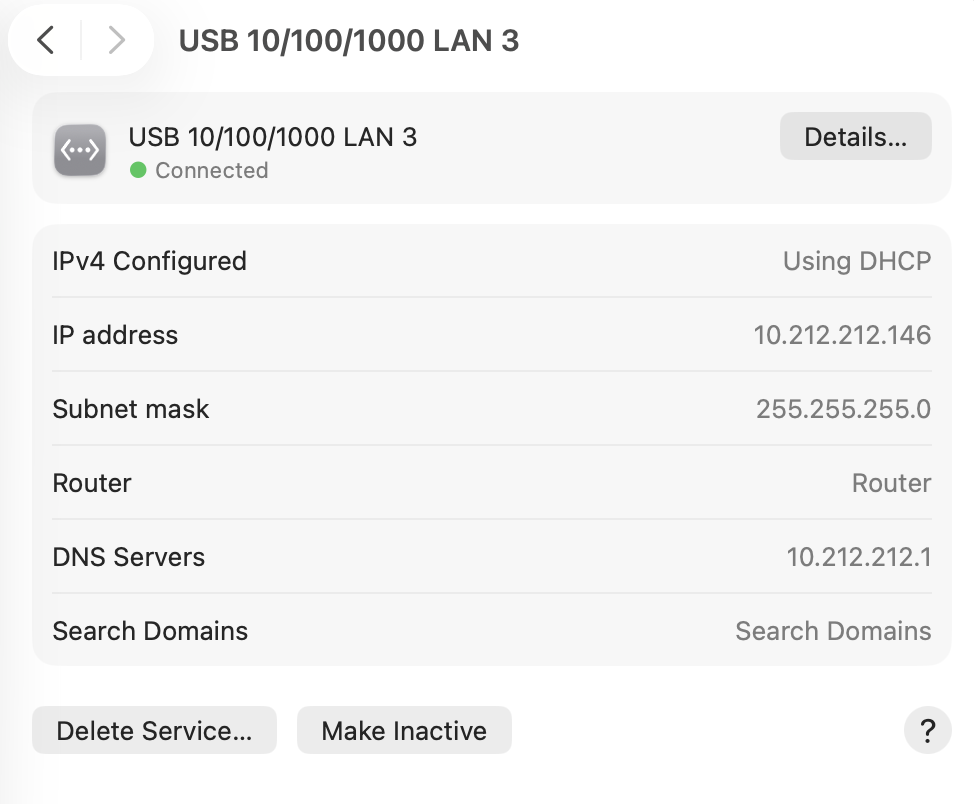
10.212.212.0/24to strictly avoid IP conflicts with Wi-Fi, Docker containers (172.17.x.x), or the developer’s typical office/home subnets (192.168.1.x) - Smart DNS Isolation: Separates network duties to prevent port 53 conflicts
- Host:
systemd-resolvedcontinues to handle standard DNS, ensuring the Spark unit retains full internet/Wi-Fi access. - Connection:
dnsmasqruns in isolation strictly for the USB link, managing the direct connection without interfering with system networking.
The Physical Build
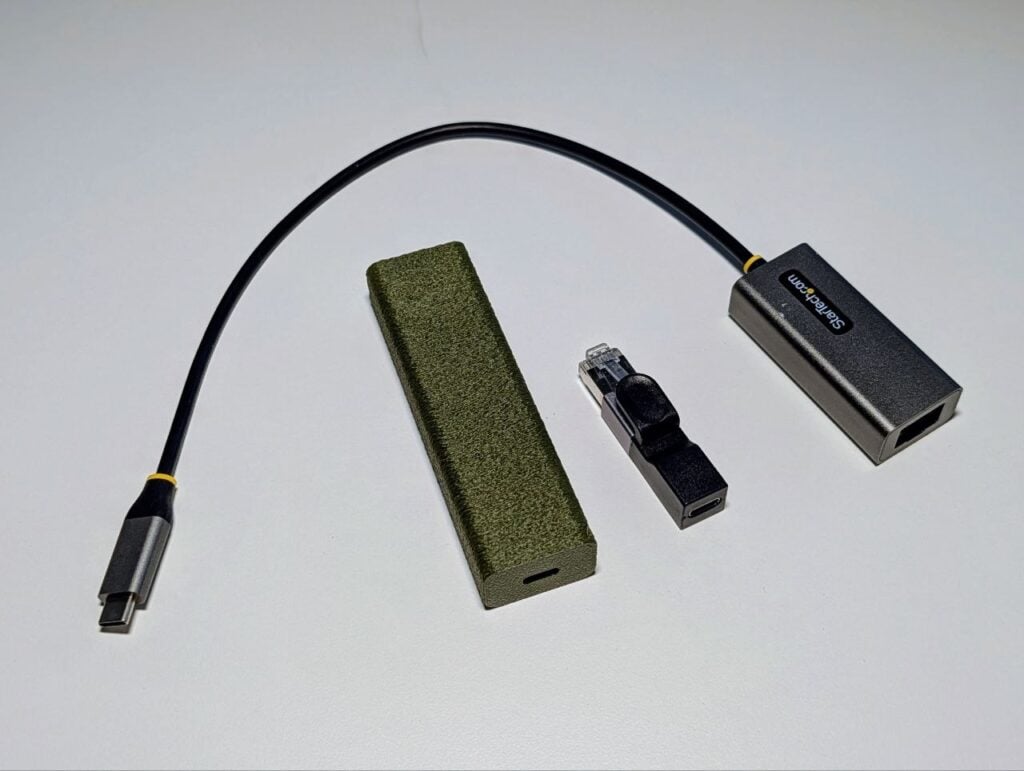
The physical setup is clever and compact. It uses two specific adapters that plug directly into each other, forming a single, streamlined unit without any extra Ethernet patch cable.
I used these two components:
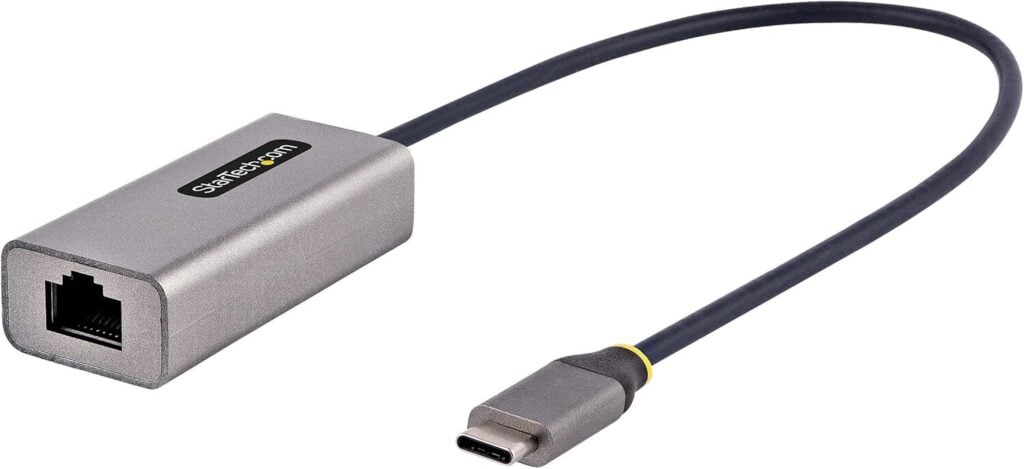
USB-C to Gigabit Ethernet Adapter: A standard adapter with a short cable and a USB-C male connector. I used https://www.amazon.de/-/en/dp/B0B1N4F6QD
USB-C Female to RJ45 Male Adapter: A compact adapter that plugs directly into the Ethernet port of the first one, providing a female USB-C port. https://www.amazon.de/-/en/dp/B0FJRWJ6QP
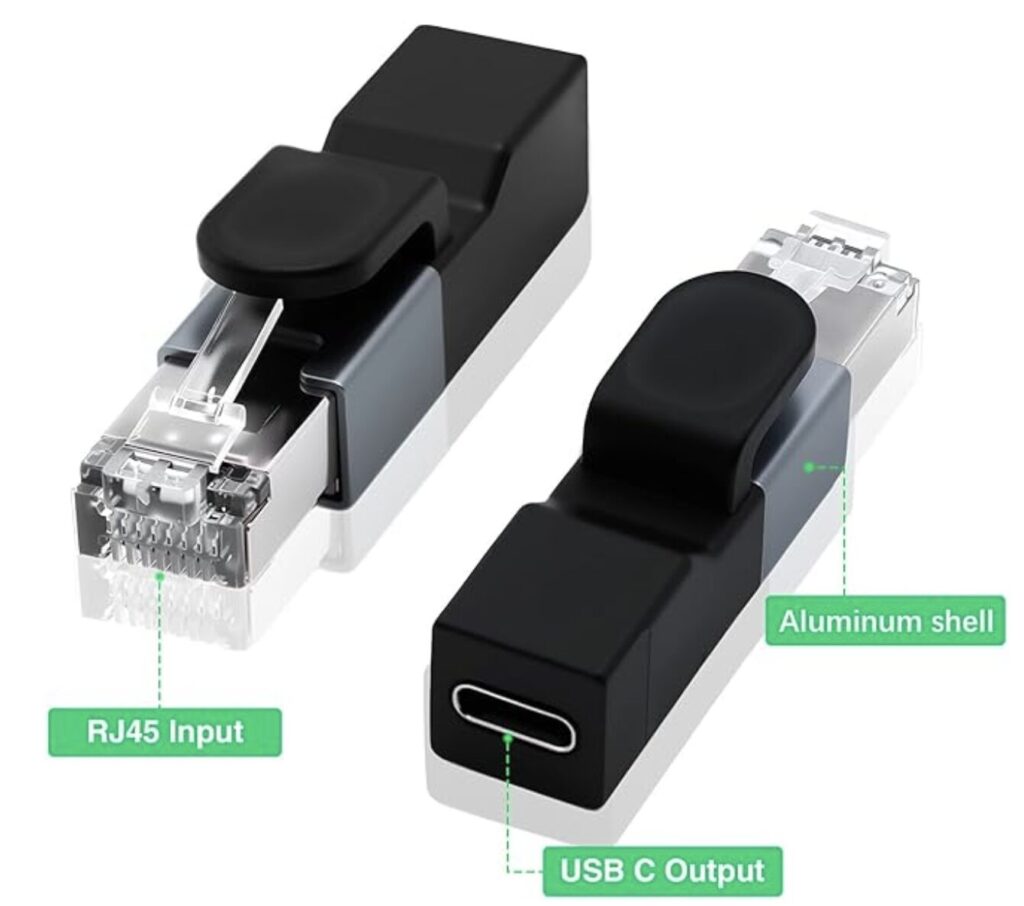
How they connect: You plug the StarTech adapter’s RJ45 connector into the RJ45 port of the Duttek adapter. This creates a single device with a USB-C male connector on one end (from the StarTech adapter) and a USB-C female port on the other end (from the Duttek adapter).
Cut here:
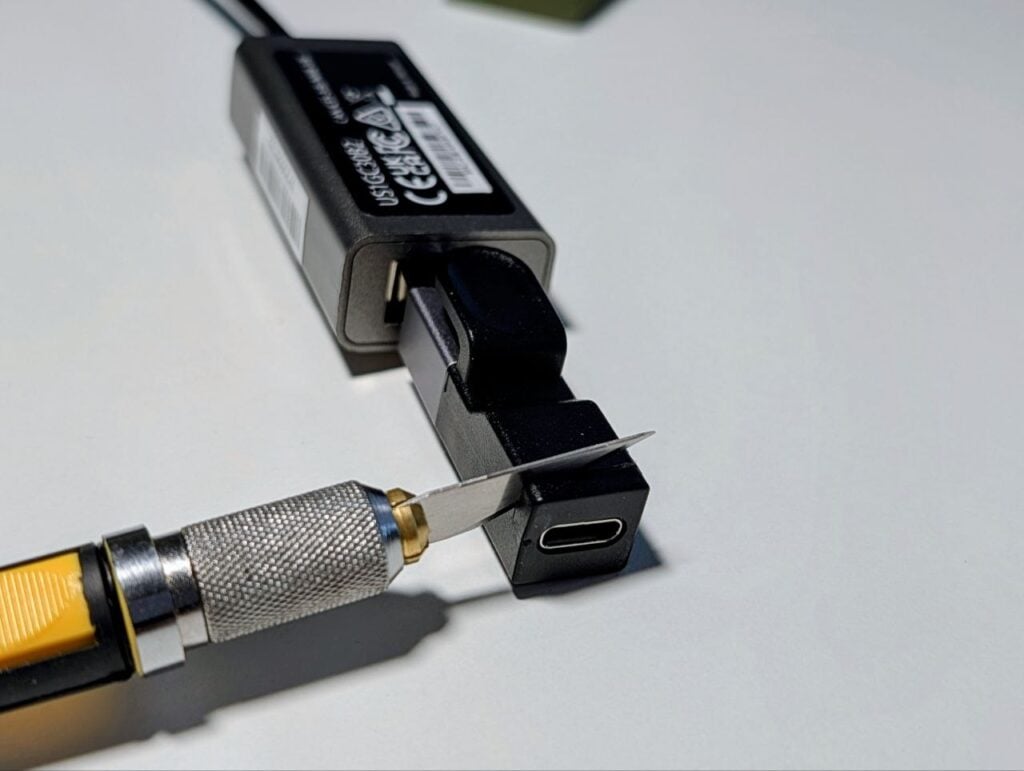
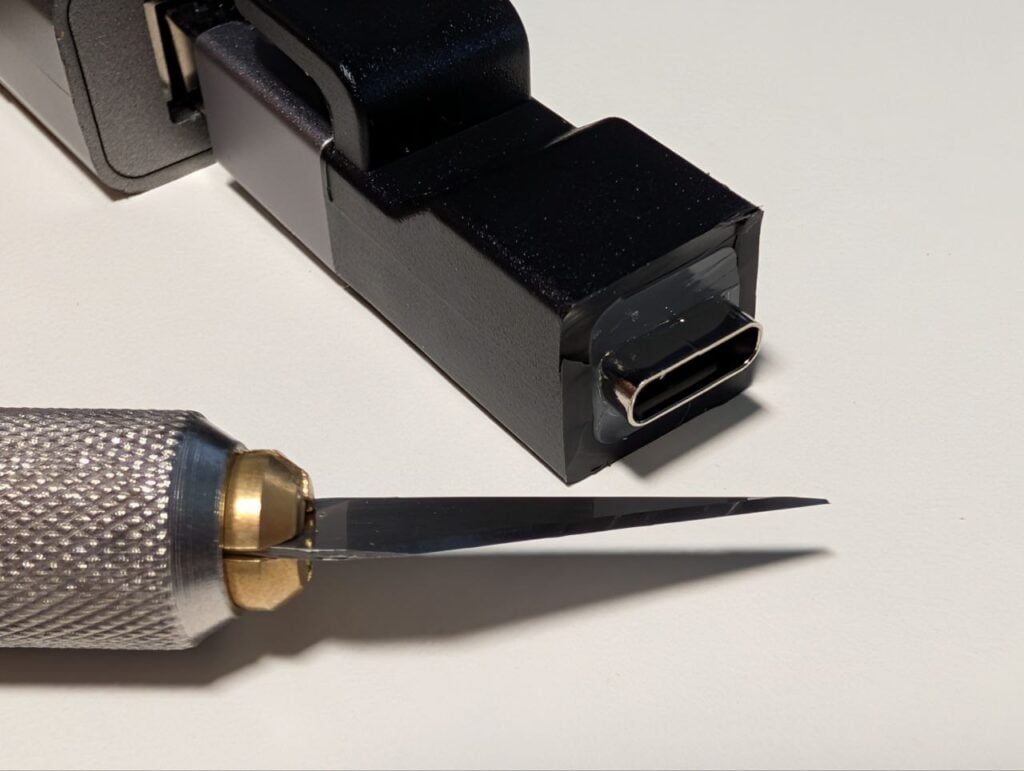
Cut here as well:
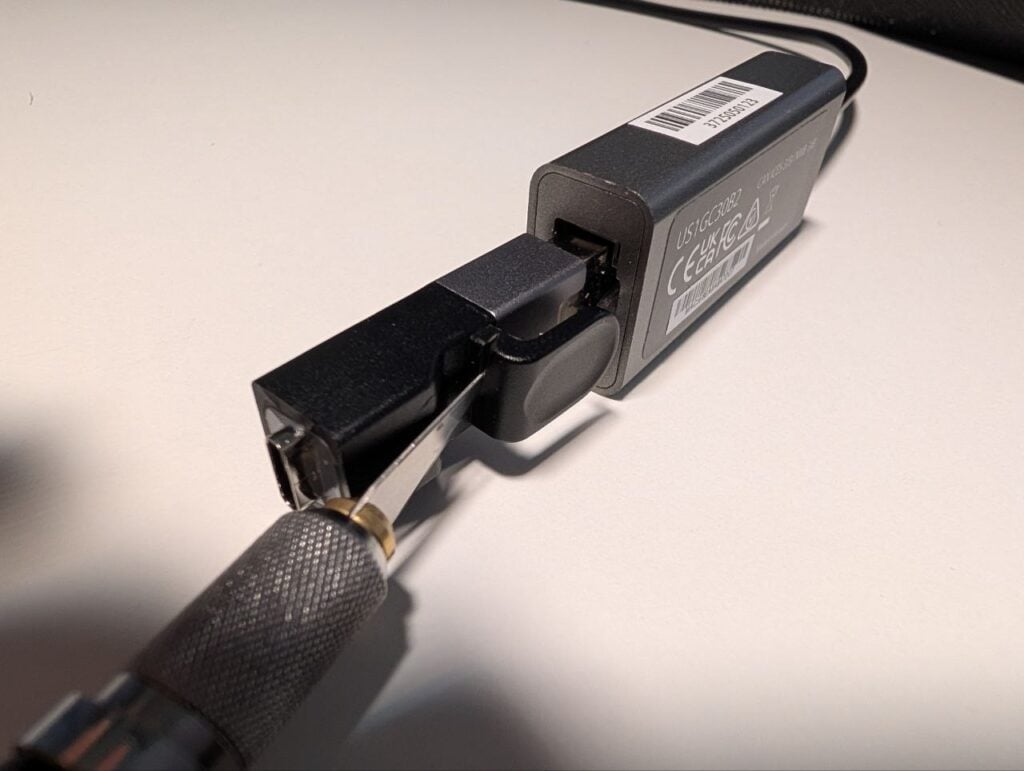
When you’re almost done, plug in the USB to guide the port into the hole:

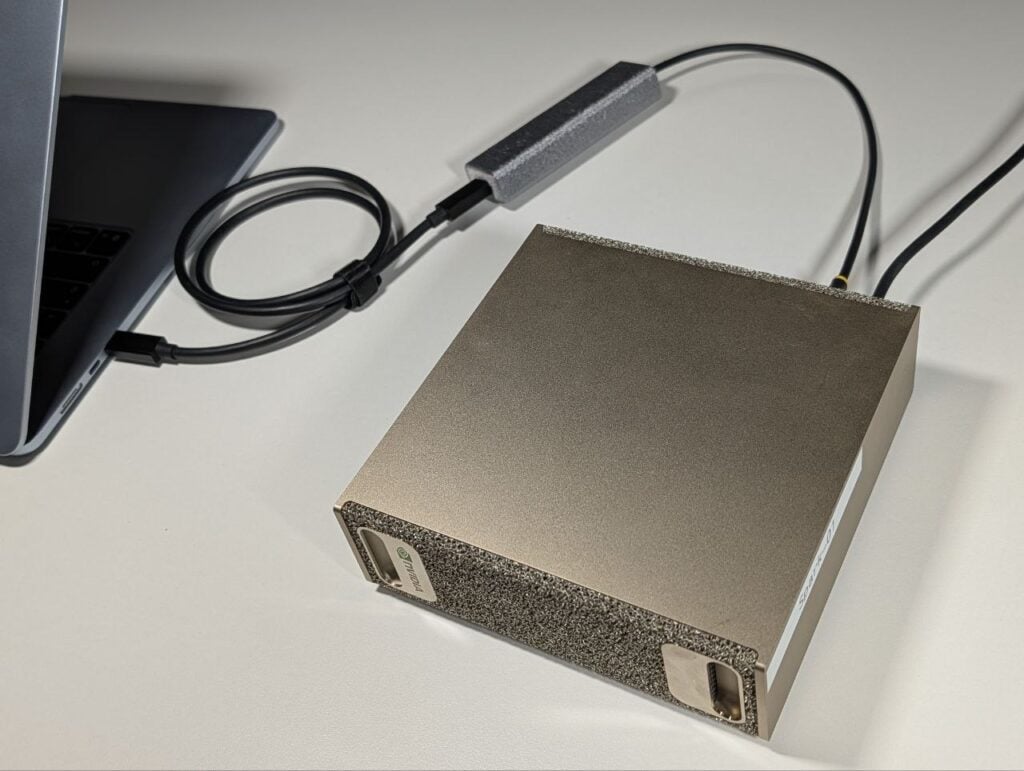
The complete chain:
- The USB-C male connector (StarTech side) plugs into your target device (e.g., Nvidia Spark).
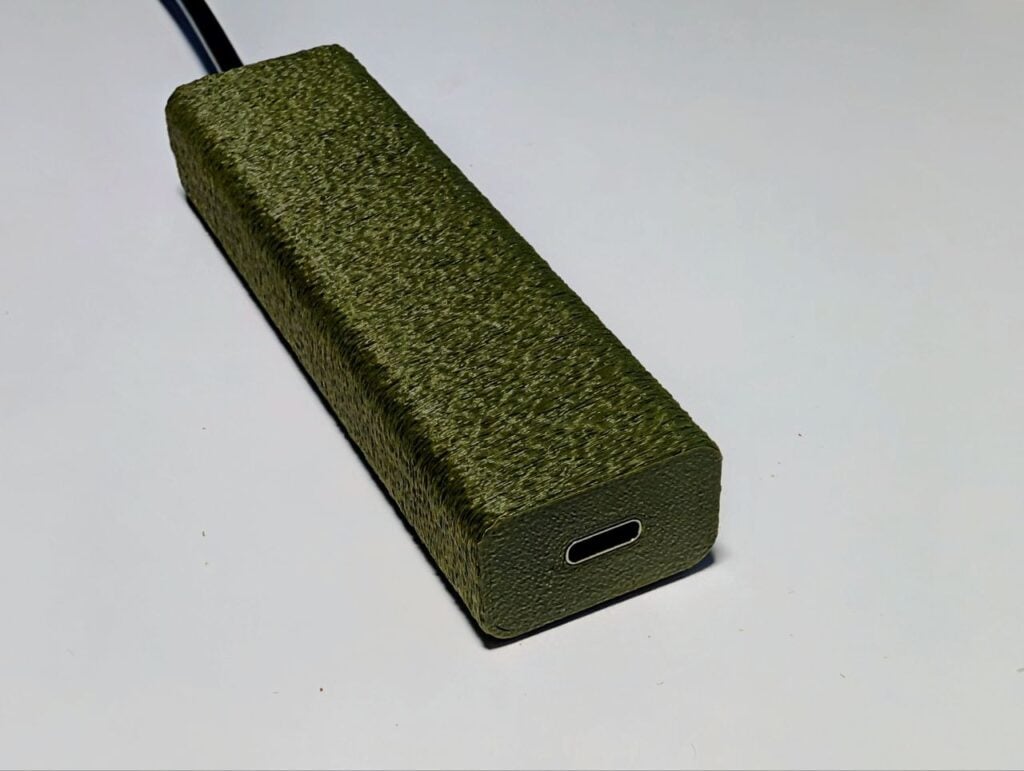
- Use a standard USB-C to USB-C cable (preferably USB 3.0) to connect the USB-C female port (Duttek side) to your laptop. BTW, USB2.0 is 480Mbps, so it’s quite possible that it will be sufficient for your purposes
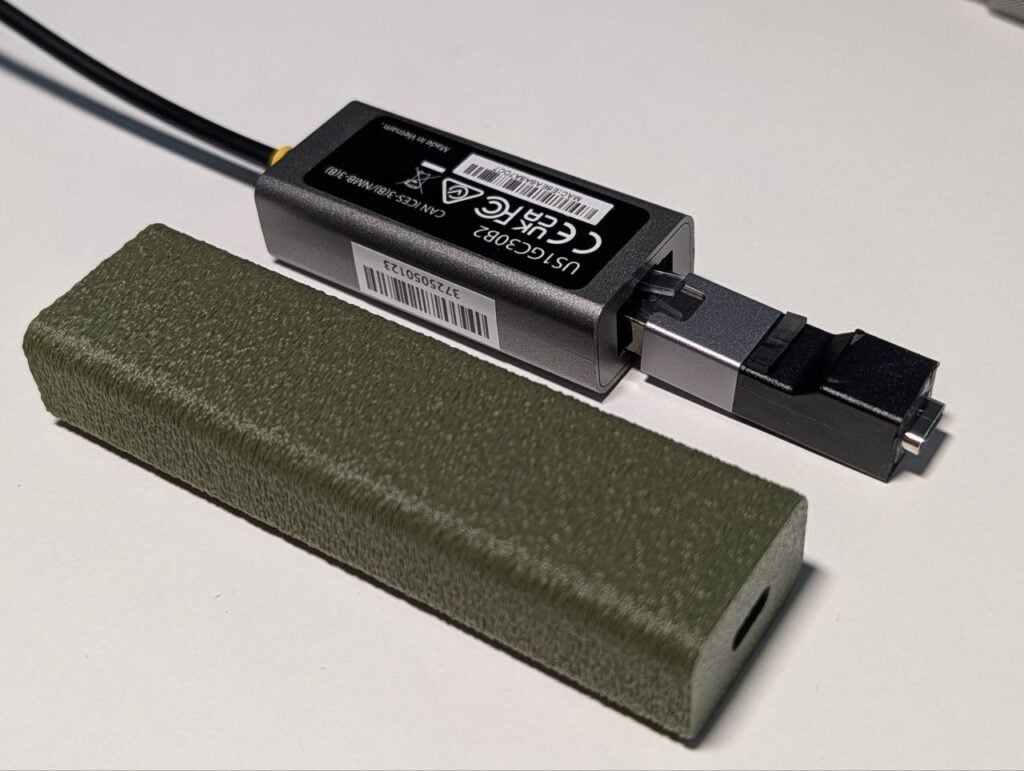
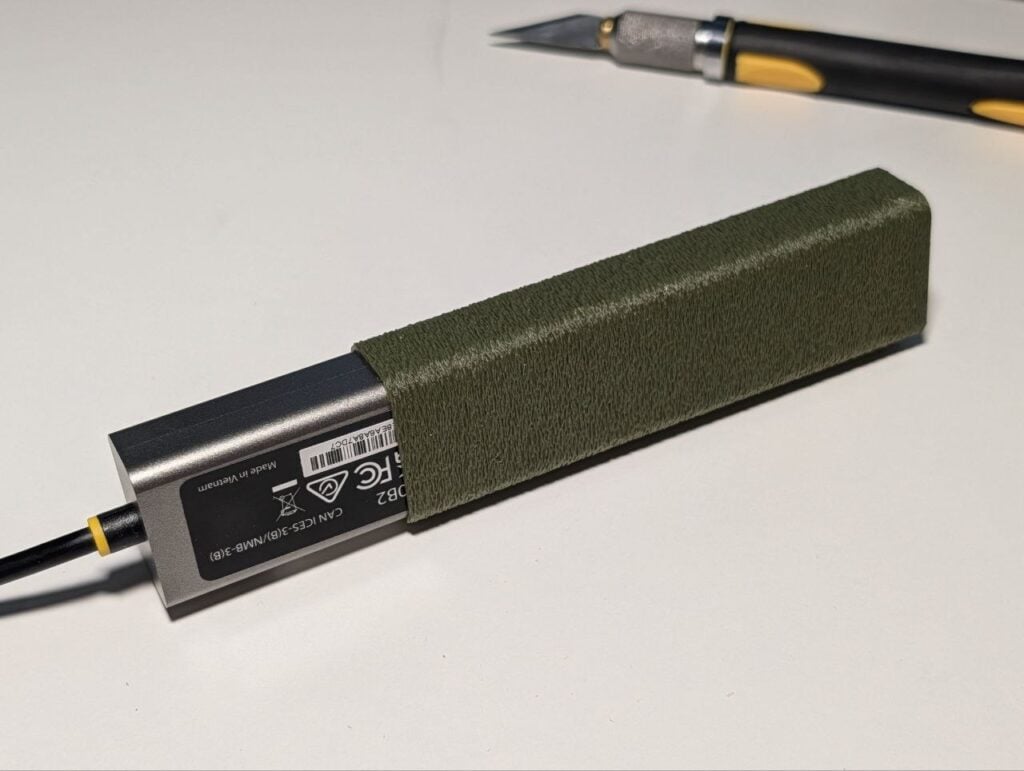
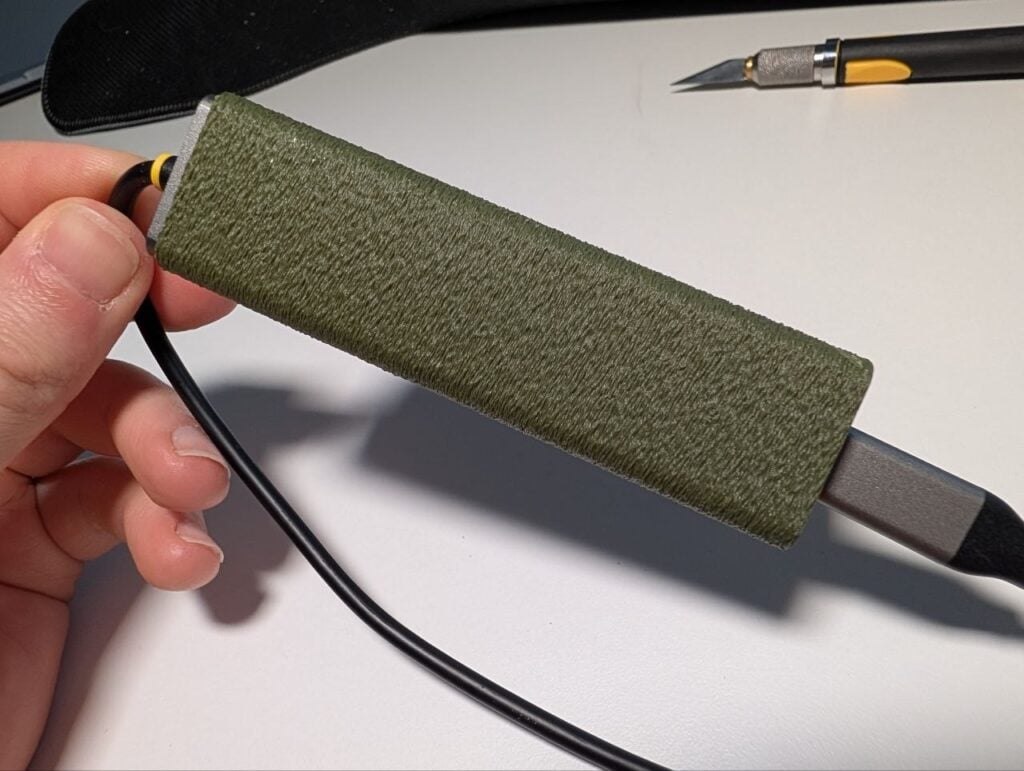
To make this setup even more robust and travel-friendly, I designed and 3D printed a custom housing that locks both adapters together into a single, rugged block.
You can download the 3D-printable case by the link. I printed with “fuzzy skin” to get a cool surface effect:
Now it’s just one solid block I plug into the device, and then I just need a standard USB-C cable to connect my laptop.
Software
The script on GitHub.
GitHub: https://github.com/JetBrains-Hardware/UniEDC
If you don’t have Git (just in case):
sudo apt update
sudo apt install git -yInstallation is simple; once the script finishes, the system will reboot (you will have 10 seconds to cancel).
git clone https://github.com/JetBrains-Hardware/UniEDC.git
cd UniEDC
chmod +x uniedc_install.sh
sudo ./uniedc_install.shOnce configured and the cable is connected, your device is reachable at 10.212.212.1
How It Works on the device side:
- NetworkManager Profile: The script creates a connection profile (
UniEDC-USB) on the device that matches any interface starting withenx*. It assigns the static IP10.212.212.1to this interface - DHCP Server:
dnsmasqis configured to listen only on the USB interface IP. It leases addresses (e.g.,10.212.212.50) to the connected laptop - Conflict Prevention:
dnsmasqis configured withbind-dynamicandexcept-interface=loto prevent conflicts with the internalsystemd-resolved.systemd-resolvedis tuned to ensure the device can still resolve local hostnames (mDNS) and access the internet via other interfaces (Wi-Fi/Ethernet).
I’m Head of Hardware in JetBrains company. Uptime Lab founder. I’m glad to see you on my website! I hope you find my content useful. Please subscribe to my Instagram and Twitter. I post the newest updates there.